


Wichman
-
Posts
1,978 -
Joined
-
Last visited
-
Days Won
48
Content Type
Store
Profiles
How-To & Articles
Scroll Saw Reviews
Clubs & Organizations
Clubs & Organizations International
Pattern Shop
Suppliers
Village University
Help Desk
Forums
Gallery
eBooks
Everything posted by Wichman
-
The book is in my cart
-
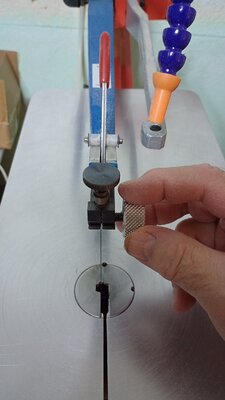
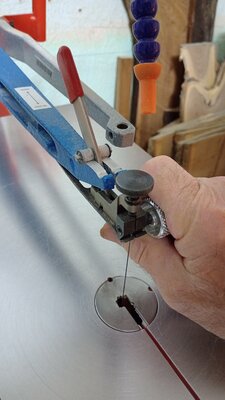
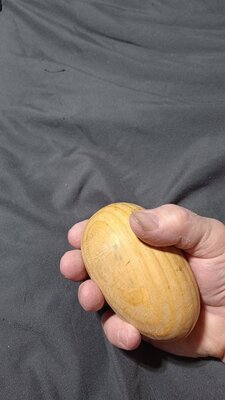
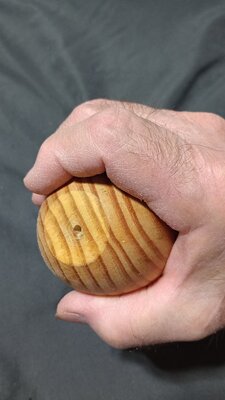
Couple of things 1. There are two basic ways to grip the knob; the pinch ( photo 1 ) and the wrap ( photo 2 ). Photo 3&4 show the large wooden egg I found at Hobby Lobby, it is very comfortable in my hand. You could use one to make a handle for a T bolt.
-
Are these the downsized patterns? What did you do to downsize them? How thick are the lines? Are you cutting on the line, the outside of the line, the inside of the line? I print my lines in red, at .005 width. I can micro adjust the size of slots by changing where I cut relative to the line ( I start by trying to erase the line, centering the blade on the line).
-
I have read that with steam bending, the ligin in the wood has to "melt" and the quickly put in a form and clamped until the ligin cools and resets. Some hardwoods lose to many oils in the process and are prone to splits and checking. I have also read that some European countries use an oil based heat treatment on the wood. I figure that a flat form is still a form; so we'll see. As for keeping the cuts perpendicular, just shear dumb luck.
-
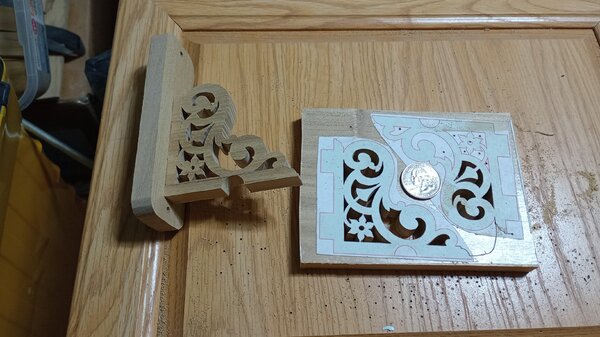
To keep myself busy I'm making some brackets. I used a Steve Good pattern and reduced the size. I intend to use 1/2" dowel rod to hang the curtains. About an hours cutting for each bracket. I used FD Polar blades throughout, 2/0 for the flower petals, #1 for the rest of the interior, and #3 for the outside. The wood is 1/2" Elm.
-
I think I see some confusion about the "hockey stick". In my limited experience there are two types of hockey stick and three causes. Type 1; this is the blade bending sideways, typically caused by a set screw misalignment. Type 2; front to back bending. first cause, swivel binding up and then two much pressure on the blade and it bends or the pinch point of the thumbscrew catching and bending the blade. Type 3. front to back bending. Second cause, to much pressure on too small a blade; the blade is being held by a pinch point (any style clamp) and when cutting the blade bends at the pinch point. Either accept the limitations of the blades or use the next larger blade (continue to try larger blades until the bending stops).
-

Favorite Projects 2025 - Scroll Saw Challenge
Wichman replied to Travis's topic in General Scroll Sawing
My favorite for 2025 was the pencil organizer that I based off of a Charles Hand pattern: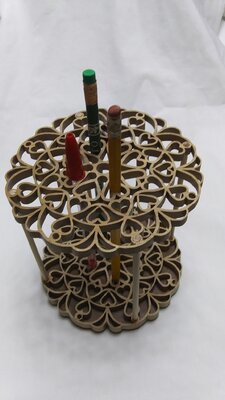
- 31 replies
-
- 13
-

-
- scroll saw challenge
- challenge
- (and 3 more)
-
Very nice
-
Paul, I am hoping that cutting the frets out will help with the flattening process. I have used lightly warped boards in projects before, where I was using pinned mortise and tenon joints. I used clamps to hold the board in place, then installed the pin. The warp put pressure on the pin and prevented movement Sometimes you can use "defects" to your advantage.
-
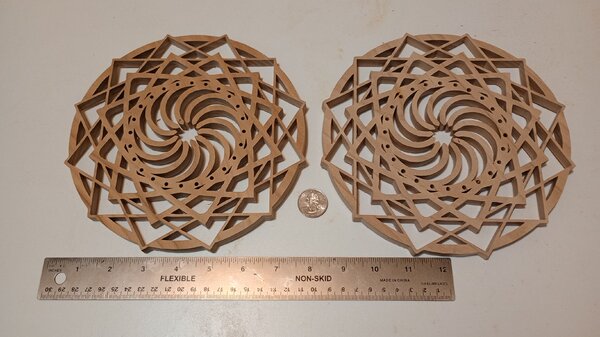
The two trivets cut out and first sanding. These are about eight inches in diameter and have a 3/8" warp. I'm hoping that all the frets will allow the trivets to flatten out easily.
-
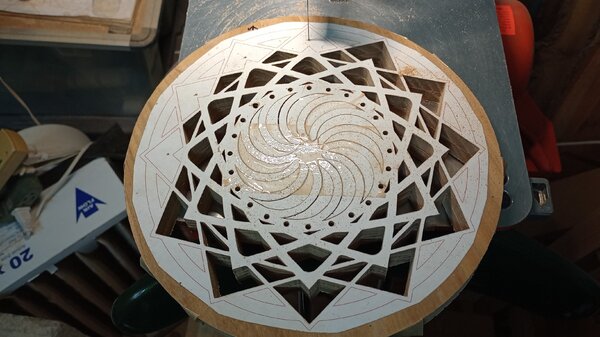
When I laid out the pieces for the Secretariette I had two sections of warped board and I wanted to try to flatten them, with a twist . After cutting I'm planning to heat the boards in Walnut oil, 275 degrees for two hours then press with weight until cooled ( about two days). I want to see if the oil bath will limit the checking and cracking that can happen with steam bending. The test pieces, pattern by Charles Hand :
-
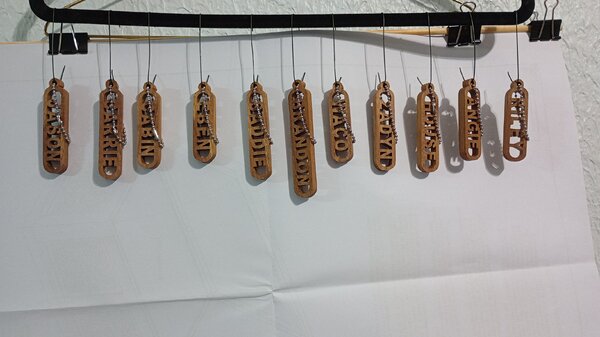
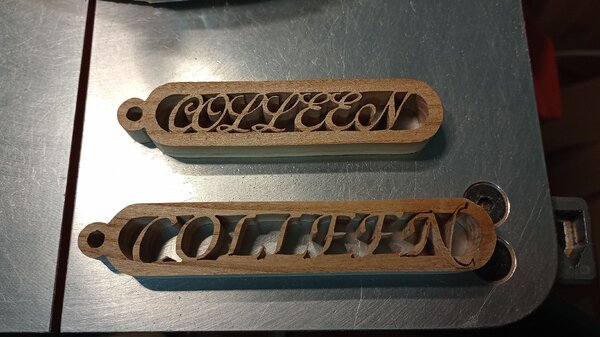
Some key fobs I made for friends and family members. I used Steve Good's font to create most of them. For two of them I substituted "Birds of Paradise" and "Z003" fonts for Steve's font, these two fobs are intended as collectibles, as the recipient collects fobs.
- 4 replies
-
- 11
-
-
I like it! As a fellow Vet, thank you.
-
search for "twelve" . I just did, it was the first of three results
-
Hello from North East Mississippi......... again....lol
Wichman replied to cswilliams1963's topic in Introductions
Welcome back -
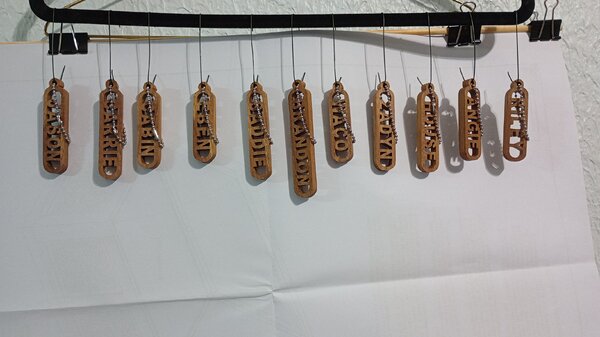
One last post Key fobs!
- 62 replies
-
- 10
-
-
- under the tree
- scroll saw challenge
- (and 2 more)
-
Welcome to the village from SE Idaho
-
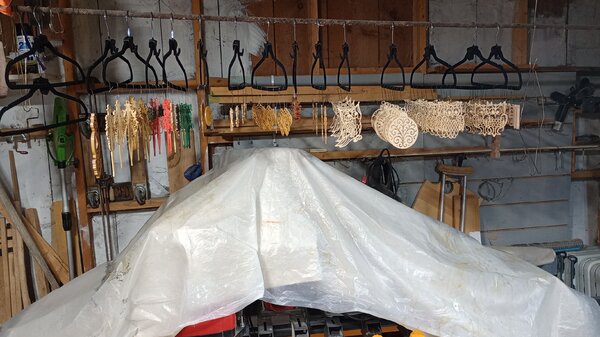
Here's my system. An eight foot length of 1/2 inch rebar hung from the rafters of my shop. Non slip, velvet covered clothes hangers. I can get a - lot - of ornaments hung with this system.
-
Welcome to the Village from SE Idaho.
-
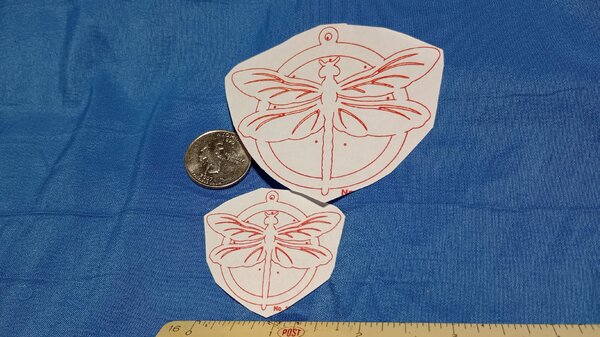
Due to a printing error, I had ornament patterns that were close to 1/2 the size of the originals, the smaller patterns cut fine, even stacked 4 and 5 high ( 1/2" to 5/8" thick plywood ). I did switch to 2/0 blades ( FD, Polar blades ).
-
Another method for fuzzy removal and smoothing
Wichman replied to Wichman's topic in General Scroll Sawing
To bad they don't make them anymore. -
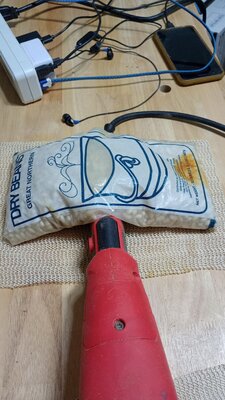
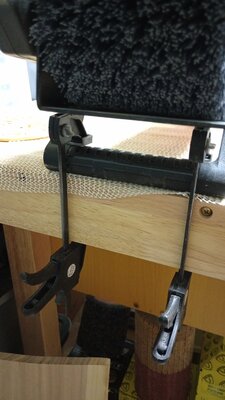
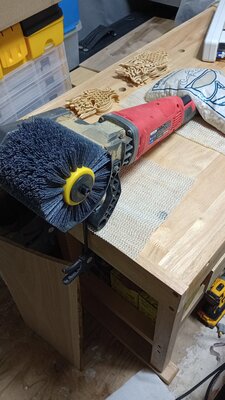
I came up with this scheme a couple of years ago, and it worked for smoothing the wood planks too wide for my 12 and 1/2" planer. I recently ( thanks to the HF manager who let me take apart the machine in the store and check to see if the larger diameter brush still had clearance, it does, yeah! ). I ordered a drum with abrasive nylon bristles, 320 grit, It doesn't remove all the fuzzies, but it does an excellent job of smoothing the shellac ( in preparation for more coats ). Note the hi tech "sandbag" for retaining the handle The " surface conditioning tool" is locked on, at 1000 rpm, and plugged into a foot switch. When not in use the tool switch is off and the foot switch is unplugged.
-
Very nice! A couple of notes. When you have a need to control a stain line, you can use an Exacto knife to score a light line where you want the stain to stop, by using a small brush to apply a light amount of stain, the stain will "bleed" to the line and no further. For the cones; I would check the angle of some step drill bits to see if any are close, I have a set of three with various angles, if you were doing enough to make it worth your while you could grind a spade bit to the proper angle.
-
If you go to Steve Good's website here he has a wealth of information on this subject.


